
Introduction to Cellpose#
Cellpose is a free, open-source software tool for automatic cell segmentation using deep learning. It is designed for biological image analysis, working on a wide range of microscopy images without requiring parameter tuning or extensive training data. It is a generalist image segmentation tool.
At its core, Cellpose uses a pretrained deep neural network to segment cells based on learned features. It supports both 2D and 3D datasets, and can handle a variety of morphologies, including nuclei, cytoplasm, whole cells, and irregular structures. Users can also train custom models using their own data if the pretrained model doesn’t fit their needs.
The project is well-supported with documentation, tutorials, and example datasets, all available on the official website and GitHub repository.
Download and Install Cellpose#
Cellpose is available via:
A Python package (recommended for scripting and integration into pipelines)
A Graphical User Interface (GUI) for interactive use
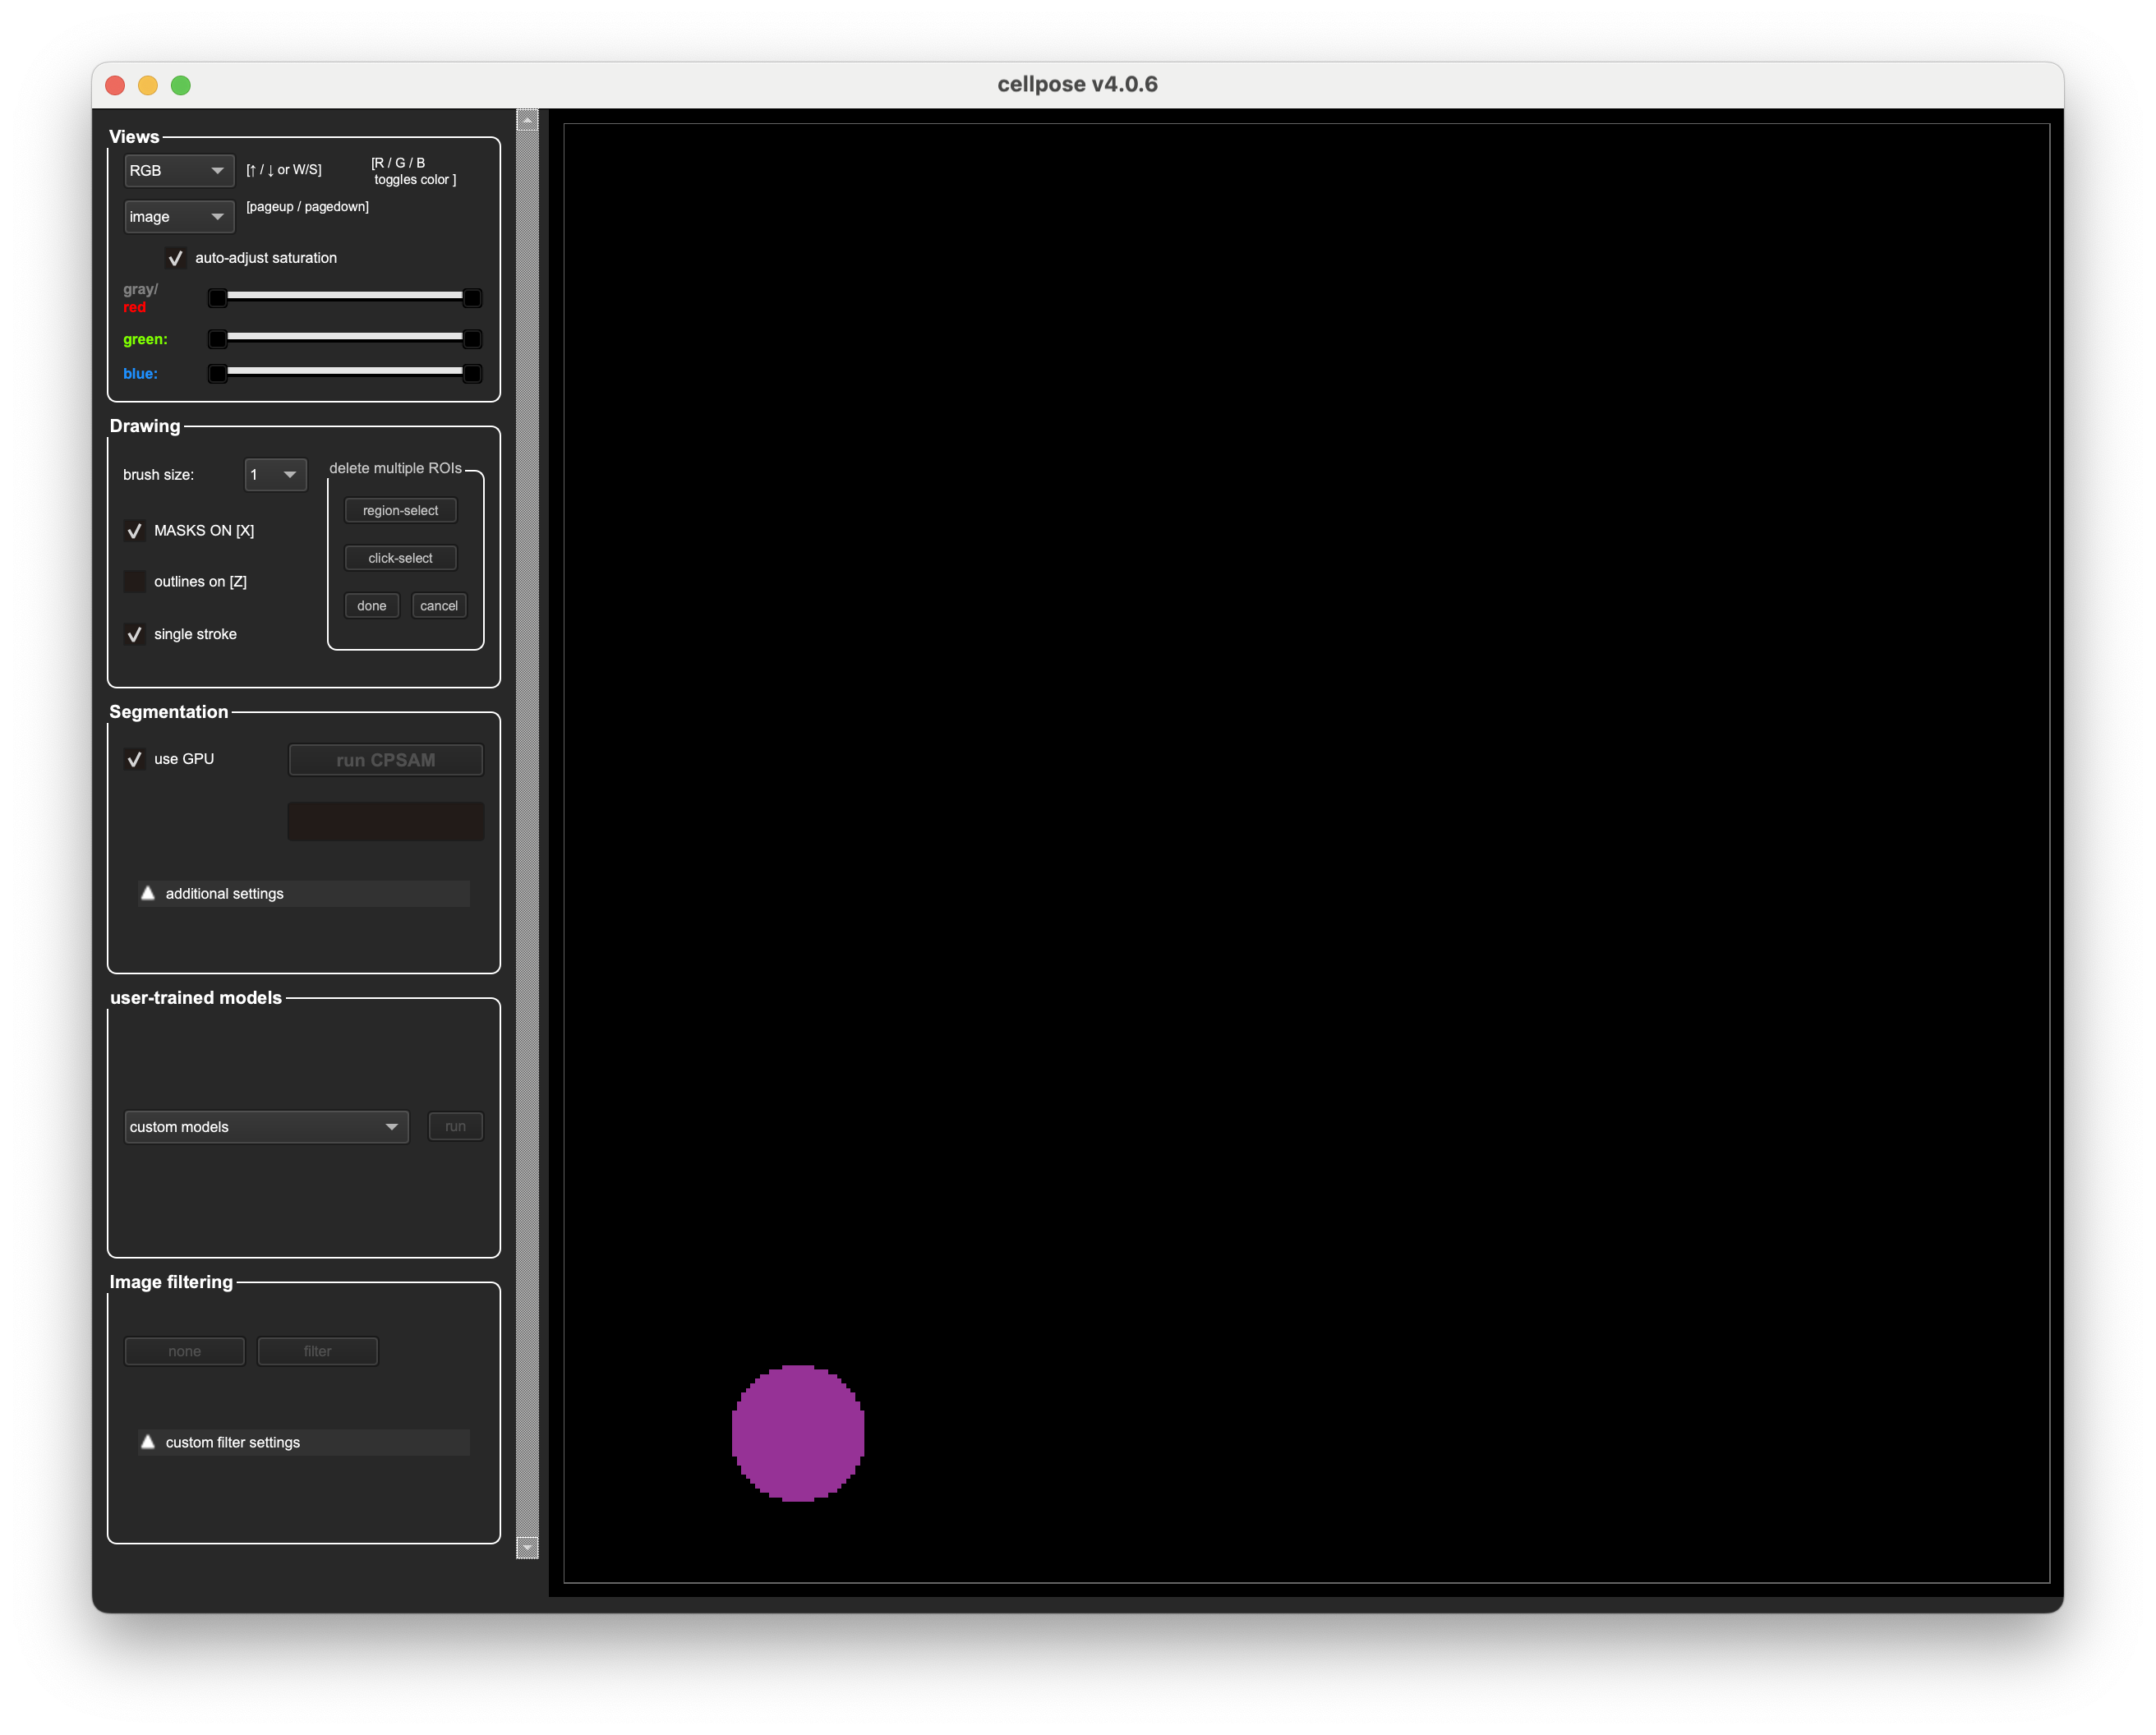
Below are the instructions to install Cellpose using uv.
You can use uv to use/install Cellpose in three ways:
Direct execution: Use
uvto automatically handle environment creation and run the GUI directlyManual environment setup: Create a virtual environment first, then install Cellpose within that environment
Jupyter Notebook Integration: Use
uvx juvwith the Jupyter notebooks from this course to run the Cellpose notebooks directly in the browser
⚠️ Note: If you want to use Cellpose efficiently, make sure to run it using GPU or it will be very slow. If you have an Apple Silicon Mac, you can take advantage of the built-in GPU (no need of a particular installation). See the instructions below for more details on how to run Cellpose with GPU support on Windows/Linux.
1. Direct Execution with uv#
By simply running the command below, uv will create a virtual environment, install Cellpose, and launch the GUI (it might take a little while the first time you run this command but after that it will be very quick).
uvx "cellpose[gui]"
If you are working with 3D datasets, you should also add the flag --Zstack:
uvx "cellpose[gui]" --Zstack
⚠️ Note: If you have a multi-channel z-stack, `Cellpose` expects the dimension order to be ZCYX.
NVIDIA GPU (CUDA - Windows/Linux)
To run Cellpose with an NVIDIA GPU:
you need to have the NVIDIA drivers installed on your system.
you can run
nvidia-smiin the terminal to check your CUDA version (shown in the top-right of the output, e.g.CUDA Version: 13.0.0).run the following command, replacing
cu130with your CUDA version. The--index-strategy unsafe-best-matchflag is needed so thatuvresolvescellposeitself from PyPI rather than from the PyTorch index:
uvx --index-strategy unsafe-best-match --with torch --with torchvision --index https://download.pytorch.org/whl/cu130 "cellpose[gui]"
Add --Zstack flag if you are working with 3D datasets:
uvx --index-strategy unsafe-best-match --with torch --with torchvision --index https://download.pytorch.org/whl/cu130 "cellpose[gui]" --Zstack
⚠️ Note: If you have a multi-channel z-stack, Cellpose expects the dimension order to be ZCYX.
2. Manual Environment Setup#
If you need to use Cellpose for scripting and integration into pipelines, it is then useful to set up a virtual environment manually. Here are the steps:
2.1. Create a new virtual environment:
When using uv, you can create a virtual environment with the following command:
uv venv cellpose-env
2.2. Activate the virtual environment:
# On Linux or macOS
source cellpose-env/bin/activate
# On Windows use
cellpose-env\Scripts\activate
2.3. Install Cellpose:
uv pip install cellpose
If you will also need to run the Cellpose through the GUI, you should install it with GUI support:
uv pip install "cellpose[gui]"
And then, to launch the GUI:
python -m cellpose # (or simply cellpose)
If you are working with 3D datasets, add the --Zstack flag:
python -m cellpose --Zstack # (or simply cellpose --Zstack)
⚠️ Note: If you have a multi-channel z-stack, Cellpose expects the dimension order to be ZCYX.
NVIDIA GPU (CUDA - Windows/Linux)
To use Cellpose with an NVIDIA GPU in your virtual environment:
you need to have the NVIDIA drivers installed on your system.
you can run
nvidia-smiin the terminal to check your CUDA version (shown in the top-right of the output, e.g.CUDA Version: 13.0.0).after installing
Cellposeas described above, installtorchandtorchvisionwith CUDA support, replacingcu130with your CUDA version:
uv pip install torch torchvision --index-url https://download.pytorch.org/whl/cu130
3. Jupyter Notebook Integration#
To run, for example, the Cellpose Notebook locally in your browser, you can use the following command:
# for the cellpose notebook
uvx juv run path/to/cellpose_notebook.ipynb # (or simply juv run cellpose_notebook.ipynb if you have the tool)
NVIDIA GPU (CUDA - Windows/Linux)
In order to use Cellpose in the notebooks with an NVIDIA GPU:
you need to have the NVIDIA drivers installed on your system.
you can run
nvidia-smiin the terminal to check your CUDA version (shown in the top-right of the output, e.g.CUDA Version: 13.0.0).update the
# /// scriptblock at the top of thecellpose_notebook.ipynbto install the appropriate version of PyTorch with CUDA support (replacecu130with your CUDA version):# /// script # requires-python = ">=3.12" # dependencies = [ # "matplotlib", # "cellpose", # "torch", # "torchvision", # ] # # [tool.uv.sources] # torch = { index = "pytorch-cu130" } # torchvision = { index = "pytorch-cu130" } # # [[tool.uv.index]] # name = "pytorch-cu130" # url = "https://download.pytorch.org/whl/cu130" # explicit = true # ///
re-run the notebook using
uvx juv run.
What’s Next?#
In the next sections, we will briefly demonstrate how to use Cellpose through the GUI and then focus more on how to use Cellpose in scripts and pipelines to automate the segmentation process on multiple images. We will also show how to train a Cellpose custom models if the pretrained model does not fit your specific needs.